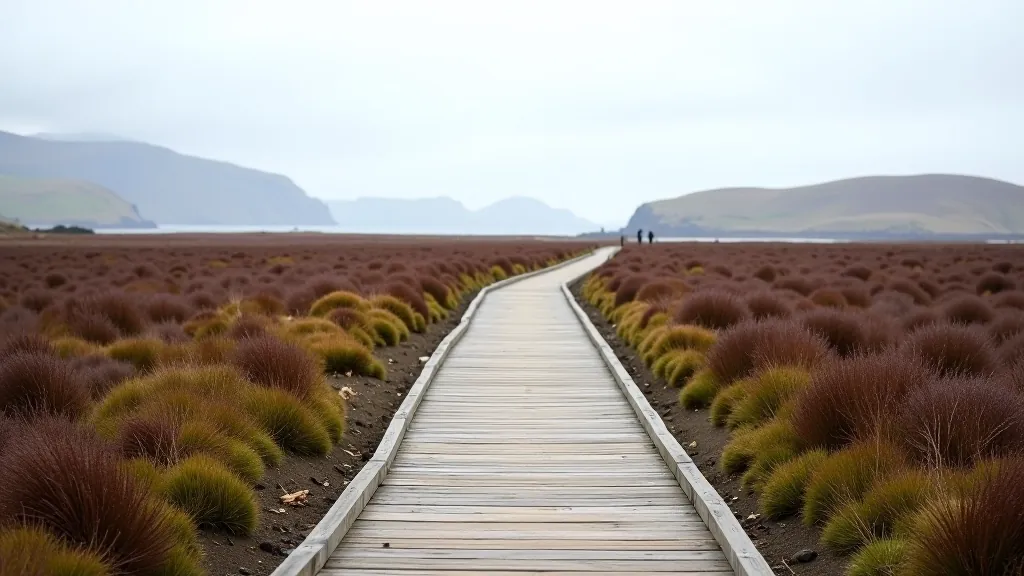
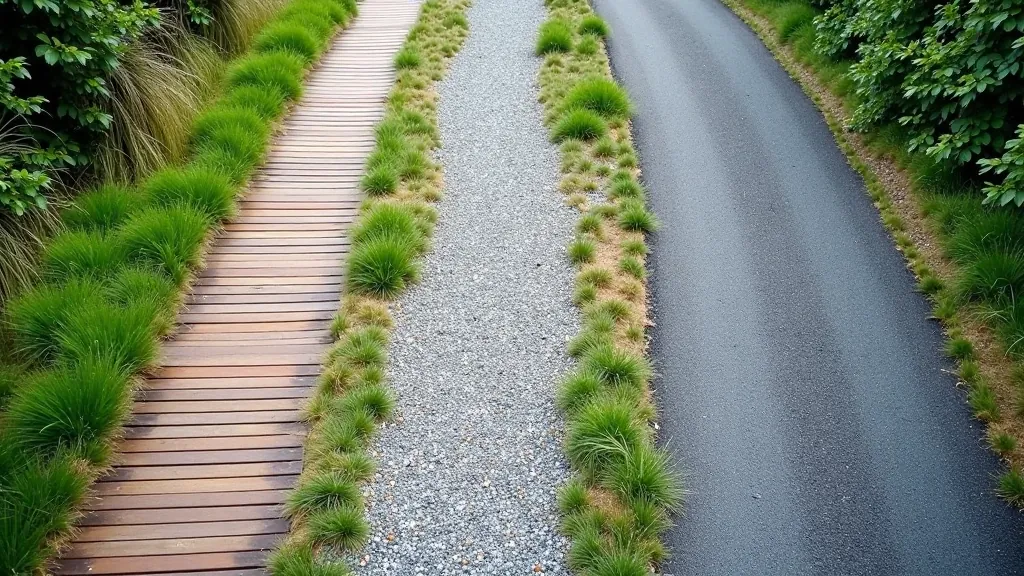
Ballycroy National Park Boardwalks — The Easiest Route
A completely flat, fully accessible boardwalk through protected bog. No stairs, no elevation gain. The surface is firm and forgiving.
How to evaluate any trail before you go. What surfaces to expect, how to judge difficulty honestly, and when to turn back safely without disappointment.
Not every "scenic walk" is actually walkable. We've all been there — you show up excited, take one look at the terrain, and realize this wasn't what you expected. The good news? You don't need to guess anymore. There's a system to evaluating trails before you commit your time and energy.
This guide walks you through the practical steps to assess any route. We'll cover what to look for online, what questions to ask, and how to trust your instincts when something doesn't feel right. You'll learn to read trail descriptions like an expert — spotting the red flags and understanding what "moderate" actually means.
The surface is everything. It determines stability, effort level, and how your knees and ankles feel after the walk. Here's what you'll actually encounter in Irish national parks.
Before you set foot on any trail, do this homework. Spend 15 minutes with these questions. It'll save you from wasted trips and disappointment.
Don't trust the advertised time. Add 25-30 minutes to any estimate, especially if you're stopping for photos or just to catch your breath. A "1-hour walk" often takes 90 minutes in reality.
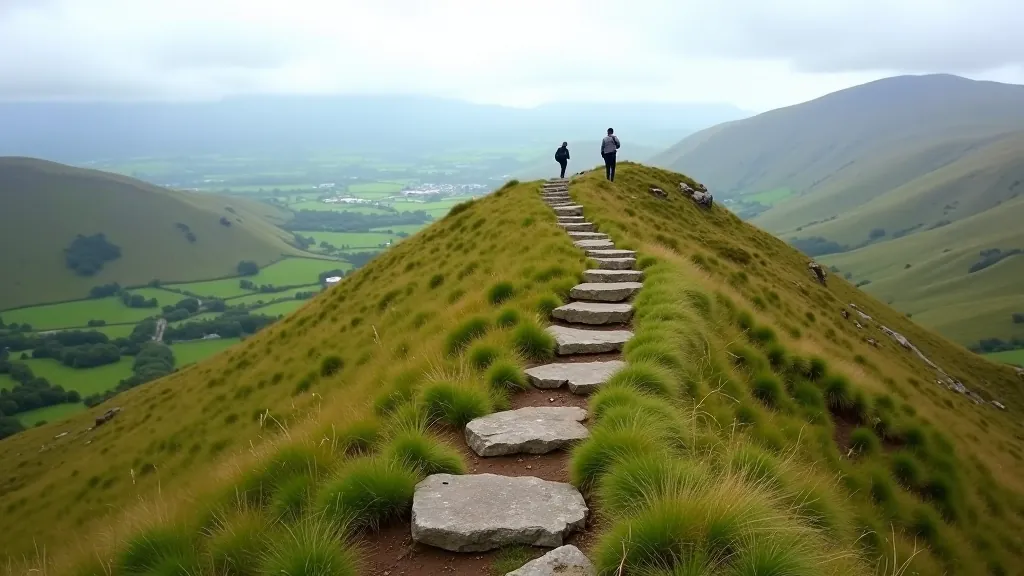
This is the real difficulty factor. A flat 5km is completely different from a 3km walk with 200 meters of climbing. Check the elevation profile if available — look for steep sections, not just total climb.
Read reviews from the past 3-6 months. Trails change — weather damages surfaces, paths get overgrown, maintenance happens. Recent feedback tells you what's actually there now.
Where's the nearest toilet? Is there a café at the start? Can you park close to the trailhead? These details matter more than people admit.
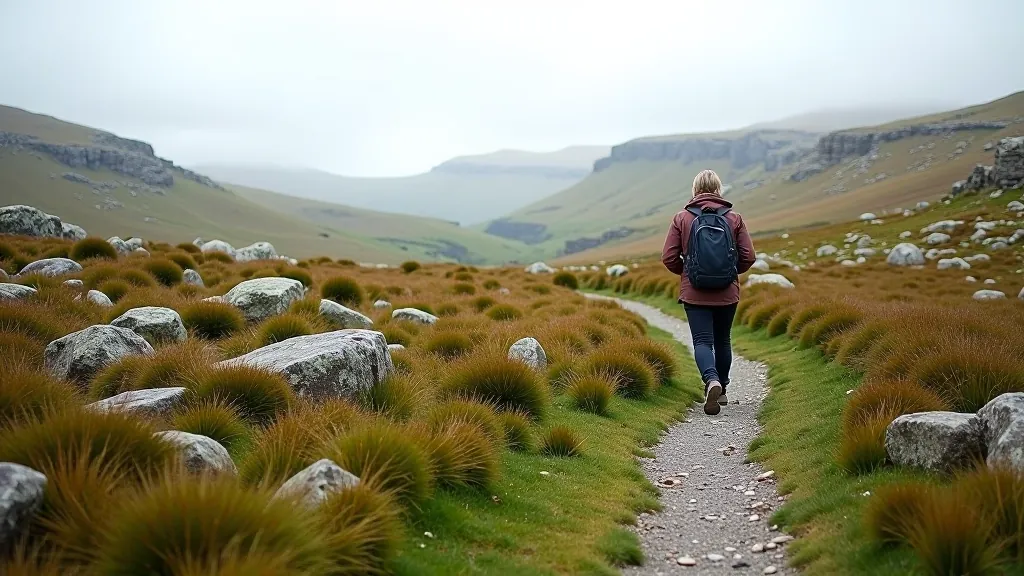
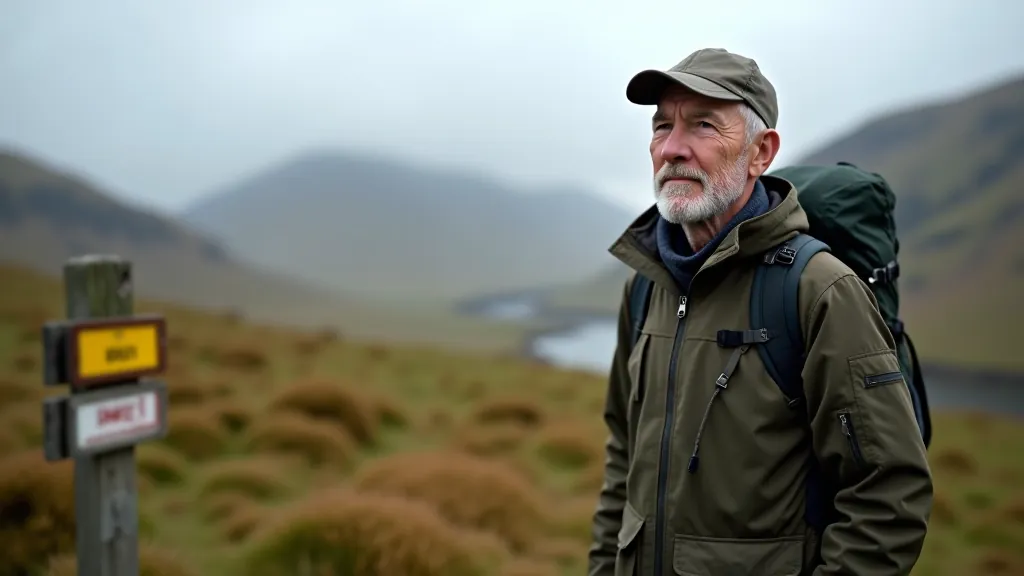
Is the trail exposed to wind? Shaded by trees? Can you get soaked from rain quickly? High-altitude routes get cold fast. Bog trails stay wet for days after rain.
Can you cut the walk short? Are there bail-out points halfway? A loop with no shortcuts is riskier than a route where you can turn back anytime.
This guide is educational information to help you make informed decisions about trail walking. Everyone's fitness level, mobility, and comfort are different. What's accessible for one person might be challenging for another. Always assess trails honestly based on your own experience and current fitness. Turn back if you're not comfortable — there's no shame in that. If you have specific health concerns, check with your doctor before attempting any new walking route.
Trail descriptions use vague language. "Moderate" means something different to everyone. Here's what the words actually translate to on the ground.
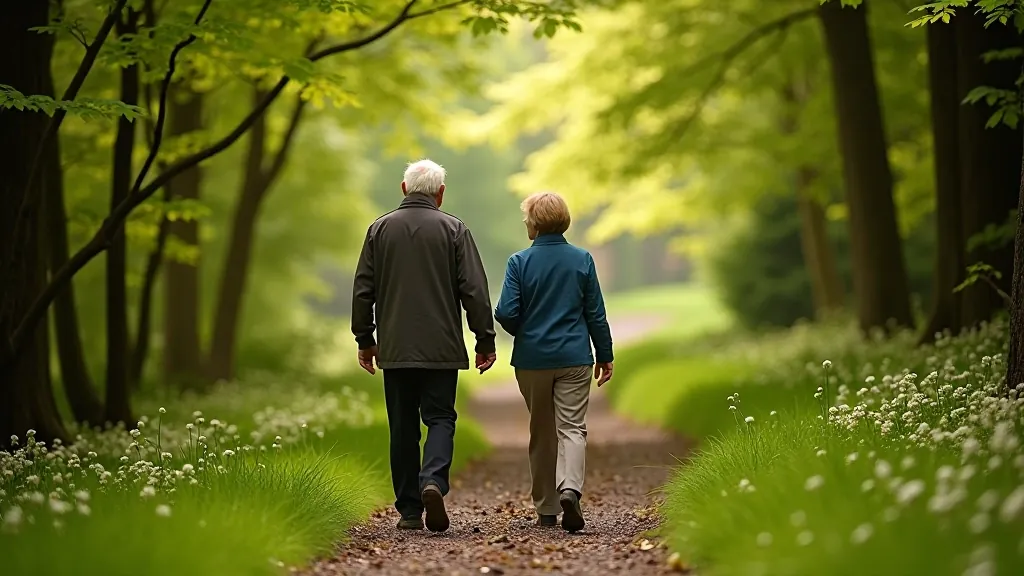
Easy: Flat or nearly flat. Well-maintained surface. Takes 1-2 hours. You'll feel fine afterward.
Moderate: Some climbing involved — usually 100-300 meters total. Mixed surfaces. Takes 2-3 hours. You'll be a bit tired.
Challenging: Significant climbing — 400+ meters. Possibly rough terrain. Takes 3-4 hours minimum. Your legs will feel it the next day.
Strenuous: Steep sections. Possibly scrambling. Loose rock likely. Takes 4+ hours. You'll be genuinely tired afterward.
The word "exposed" is particularly important. It means little shelter from wind and weather. An exposed trail feels harder than the elevation suggests because you're fighting wind the whole way.
Some trails sound good on paper but aren't worth your time. Watch for these warning signs in descriptions and reviews.
Bog stays waterlogged for 5-7 days after rain. Waterproof boots aren't enough when you're walking through actual water. Check recent rainfall before going.
This means hands-on-rock climbing. If that's not your thing, this trail isn't for you. It's not just "steep" — it's actually climbing.
"Path is overgrown," "steps are crumbling," "barely marked anymore" — these don't fix themselves. Avoid until maintenance is done.
In summer, an exposed uphill climb in direct sun is brutal. Wind chill on mountain ridges is real in spring and autumn. Know what you're getting.
If you can't turn back halfway and the terrain gets harder than expected, you're trapped. Look for loops or out-and-back routes instead.
The best accessible trail experience isn't about finding perfect routes — it's about matching routes to your actual capabilities on a specific day. That means honest self-assessment.
On a good day when you're well-rested and the weather's perfect, you'll do better than usual. On days when you're tired or your knees are bothering you, pick something easier. This isn't failure — it's smart management. You're not racing. You're out to enjoy walking in nature without paying for it the next day.
Start with routes you're confident about. Get familiar with what different difficulty levels feel like in your own body. Build up gradually. After a few walks, you'll develop real intuition about what's manageable and what's not. Trust that intuition more than any trail rating or description.